How to Scan a Shoebox of Old Family Photos Without Losing a Weekend
By Ari Ber · September 23, 2026
Category: family-archive
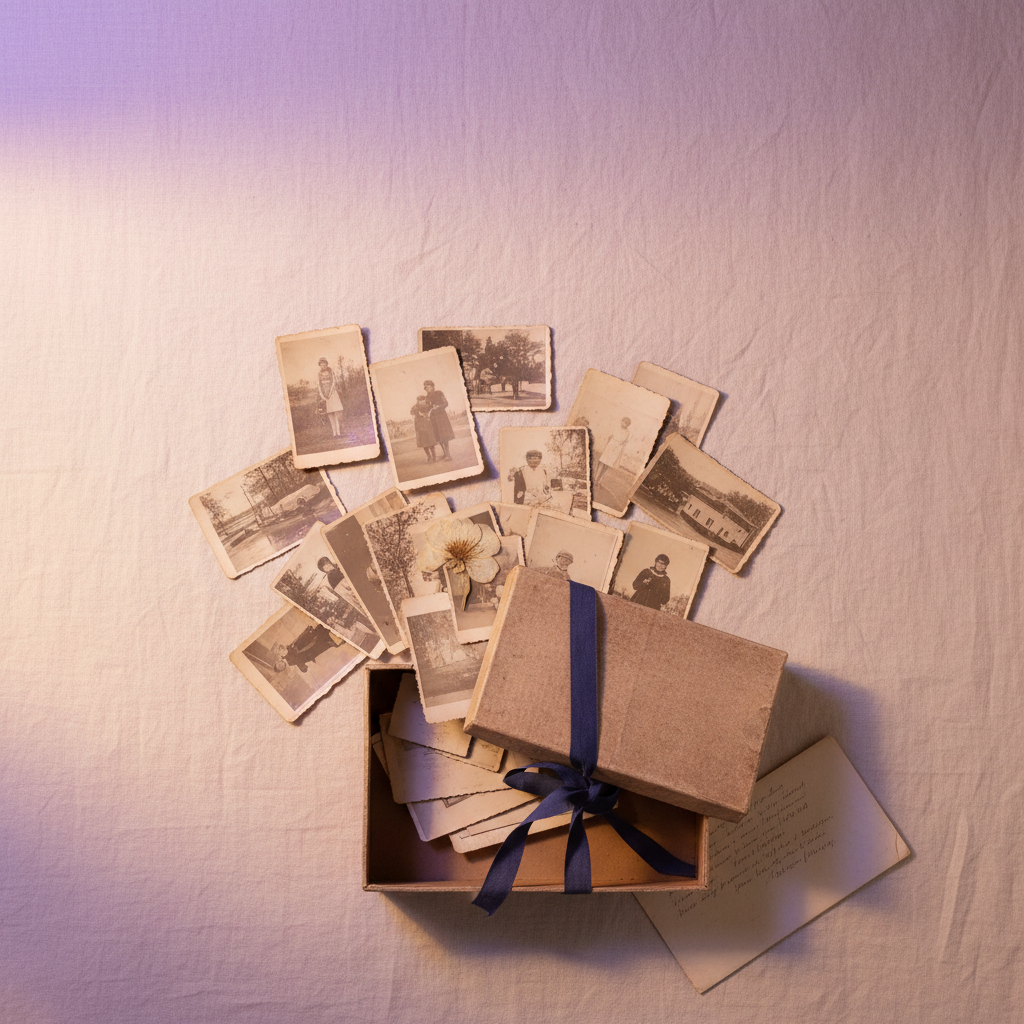
A step-by-step method for scanning a shoebox of old family photos without losing a weekend - triage first, then digitize, name, caption, and back up.
Key takeaways
The problem Most family photo archive projects stall because people feel overwhelmed by hundreds of prints and unsure where to begin.
Core insight Starting with just twenty anchor photos - ones you can immediately identify and share - unlocks conversations and makes the rest of the project feel manageable.
Practical outcome After reading, you can open one shoebox, pull out twenty photos, scan and name them using a simple system, and back them up safely in a single session.
The shoebox is on the kitchen table. You've pulled out the first handful of photos and fanned them across the surface, and now you're standing there, not sure where to grab next. There are maybe three hundred prints in there, some stuck together, some faded to orange, one that might be your great-grandmother or might be a neighbor - you genuinely can't tell. This is the wall most family archive projects hit before they start.
The good news is that you don't need to scan all of them this weekend. You don't need a perfect system before you begin. What you need is a way to start that doesn't feel like you're choosing some memories over others - because that feeling is exactly what stalls people for years.
Here's what we've found works: a short triage, a method that fits your equipment, and a habit of asking one question while you still can. The whole project can move in sessions of an hour or two, and a single session is enough to get the most important photos digitized and shared.
Start with the 20 that matter most
Reach into the box and pull out twenty photos that stop you. Not the best-composed ones - the ones where you immediately know who's in them, or where you realize you've never seen this version of a person before. Your grandmother in her wedding dress. Your father at maybe eight years old, squinting at the camera. A family trip somewhere that nobody ever talks about anymore, five people standing in front of a lake.
Triage feels uncomfortable because it looks like ranking your family. It isn't. These twenty become what we call anchor photos: the ones you can hold up - or send as a JPEG - and ask, "Do you remember this day?" That question, pointed at a specific image, unlocks conversations that a general request for stories never does. Concrete beats vague every time.
Once you've got twenty photos with names, approximate dates, and one sentence of context each, you'll find the next twenty much easier to spot. The rest of the shoebox isn't going anywhere. Start here.
Step 1: Gather - what you need and who to ask
Before you scan anything, do a quick sweep of where the physical originals actually live. In most families, they're scattered: shoeboxes in closets, albums on shelves, envelopes in kitchen drawers, slides in carousels in the attic, negatives in an old film canister, maybe a box of Super 8 reels or VHS tapes that nobody has a player for. Write down the locations. You'll come back to different formats at different stages.
Then ask relatives. The ask works best when it's specific and low-pressure: "I'm pulling together photos from the 1970s and 80s - do you have any from around that time, especially from [event or place]? I'd love to borrow them to scan and then return them." Some relatives will be thrilled; some will worry about handing over originals. Offer to come to them, scan on the spot, and hand the prints back before you leave. That usually resolves the hesitation.
A useful scenario: you call an aunt and ask if she has anything from the 1987 family reunion. She mentions prints and maybe some slides. You ask her to set them aside - you'll handle the actual scanning, she doesn't have to do anything. That framing matters. Most relatives want to contribute; they just don't want a project.
Estimate honestly before you begin: a typical family archive runs 200-500 photos once you've gathered from two or three households. If yours is larger, break it into decades or by household. One decade per session is a manageable frame.
Step 2: Digitize - tools compared
Three options, meaningfully different in cost, quality, and how much time they ask of you. All three produce files you can store and share; the question is what you're working with and how much control you want.
At time of writing, here is how they compare:
Phone scanning app (e.g. Google PhotoScan, Photomyne): Free to roughly $10/month for premium features. Quality is good for prints in decent light - fine for sharing digitally, less ideal for large reprints. Takes about 30 seconds per photo. Best for: a manageable stack of prints in good condition when you want results today. The main limitation is consistency - a slipped angle or uneven light degrades the result in ways a flatbed won't.
Flatbed photo scanner (e.g. Epson Perfection series): Hardware costs roughly $80-200 for a basic model; no ongoing cost. Quality is high - 600 dpi for prints is standard and gives you a file large enough to reprint later. For slides or negatives, look for a model with a transparency adapter. Time is 1-2 minutes per scan, including placement and preview. Best for: anyone who wants archival-quality files and has 100 or more prints to work through over time. This is the choice we'd make for anything irreplaceable.
Mail-in scanning service (e.g. ScanMyPhotos, Legacybox): Prices vary by volume and format, generally starting around $0.50-2 per photo or item at time of writing - check each service's current pricing before you commit. Quality is excellent; most services scan prints at 600 dpi or higher. You drop off or mail the originals; turnaround is typically 1-3 weeks. Best for: large collections (slides, negatives, home video tapes) where the format is beyond what a home scanner handles well, or when your time is genuinely the scarcer resource. The trade-off is handing over irreplaceable originals, so read each company's insurance and handling policy before you ship anything.
For prints, the Library of Congress recommends scanning at 600 dpi for preservation-quality files. For slides and negatives, go higher - 1200-2400 dpi gives you room to crop and enlarge without losing detail. A TIFF file holds more information than a JPEG, though it takes more storage space; for a working archive that families will actually use, high-quality JPEG (quality setting 90 or above) is a reasonable compromise.
One thing worth doing regardless of method: scan the back of any photo that has writing on it - a date, a name, a note in someone's handwriting. That information disappears when the print is gone. If the back is blank, skip it.
Step 3: Name and date - a simple system
IMG_2847.jpg means nothing six months from now. A naming system doesn't have to be elegant - it has to be consistent and searchable.
We use: YYYY-MM_place-or-event_people.jpg
Examples: 1987-06_family-reunion_grandma-pete.jpg or 1995-XX_cape-cod-trip_beach.jpg (XX when you know the year but not the month). If you know only the decade, use 1970s_unknown_grandpa-joe.jpg. An approximate date is vastly more useful than no date - it makes the file findable and gives future family members something to correct or confirm.
Dating is a conversation, not a solo task. A photo of your grandmother in a particular dress - someone in the family knows when that was taken, or at least where. Ask while you're scanning. A quick voice memo or a text message with the photo attached is enough. Write down what you hear, even informally, and add it to the file name or a simple notes document alongside the scan.
Step 4: Add the story - captions, voices, and who remembers what
A photo without context is just an image. Grandpa Joe at his 70th birthday, 1998, at the house on Elm Street, the one he built himself - that's a memory.
Captions don't need to be polished. Write what you know as you scan. For photos you can't identify, send them to whoever might recognize the faces. A simple message works: "I'm scanning some old photos - do you know who this is or when this was taken?" A photo of three people at a picnic might come back with a name, a year, and a story you'd never have found on your own.
For relatives who find it easier to talk than to type, try recording a voice memo while you sit together with a stack of prints. Ask them to describe what they see. That audio - even on a phone, even in a noisy kitchen - is worth keeping alongside the scan. It holds tone and detail that a typed caption never quite captures.
This step is also where the project opens up. You're not the only person who remembers. Ask the question now, while the person who knows the answer can still tell you.
Step 5: Share and keep safe - backup and inviting contributors
Once you have scanned files, the single worst thing you can do is keep them in one place. Hard drives fail. Laptops get lost. A folder that lives only on your computer is a single point of failure for everything you've just done.
The 3-2-1 rule is the simplest reliable standard: 3 copies of your files, stored on 2 different types of media, with 1 copy kept off-site. In practice: the files on your computer are copy one. An external hard drive you keep at home is copy two. A cloud service - Google Photos, iCloud, Backblaze, or a shared family folder in Google Drive - is copy three, and it's off-site by definition.
A concrete version: you've scanned 200 photos and organized them in a folder on your laptop. You copy that folder to an external hard drive. You upload the same folder to Google Drive, set to private. That's it. Three copies, two media types, one off-site. It takes about twenty minutes to set up once the scans are done.
Sharing with family can be as simple as a shared Google Drive or Dropbox folder where relatives can drop their own scans, add captions in the file names, or leave a voice note. The key instruction to give them: "Add what you have - you don't have to organize it, just drop it in." You can do the organizing; they just need an easy way to contribute.
Some families use Glow to build a shared memorial where contributors can add photos, stories, and voice recordings together, and the archive is kept in one place that everyone can reach. If you're already gathering from multiple households, a shared space like that prevents the version-control problem where everyone has a slightly different folder.
The next step is smaller than you think: find one shoebox, pull out twenty photos, and give each one a name. That's a morning's work, and it's enough to start.
Frequently Asked Questions
What if I don't know when a photo was taken?
Use an approximate date - a decade or a rough year is far better than nothing. Name the file something like 1970s_unknown_grandma.jpg, and then ask a relative. A photo with an approximate date is searchable and correctable; a photo with no date is just a mystery that gets harder to solve over time.
Should I scan the back of every photo?
Only if there's writing on it - a date, a name, a short note. If the back is blank, skip it; you're doubling your time for no real gain. Photos with handwritten notes on the back are exactly the ones worth the extra scan, because that information disappears if the original print is ever lost.
What resolution should I scan at?
For prints, 600 dpi gives you a file large enough to reprint later and is the standard the Library of Congress recommends for preservation. For slides and negatives, go higher - 1200 to 2400 dpi - because the originals are small and you'll want to crop and enlarge without losing detail. If you're using a phone app for a quick pass, the result is fine for sharing digitally but not ideal for reprinting large.
What's the best phone app for scanning old photos?
Google PhotoScan works well for prints and is free; it uses multiple exposures to reduce glare. Photomyne is another option with batch-scanning features and is aimed specifically at family photo collections, though it has a subscription cost. Either works best in even, indirect light - a window on a cloudy day is better than a lamp directly overhead.
How do I get relatives to actually send me their photos?
Make the ask specific and low-obligation: ask for photos from one particular event or decade, and offer to handle the scanning yourself and return the originals. Many relatives are willing to hand over prints for an afternoon but don't want a project of their own. Going to them - rather than asking them to mail anything - usually helps too.