How to Choose the Photos for a Memorial Slideshow When You Have Thousands
By The Glow Editors · September 25, 2026
Category: remembering-well
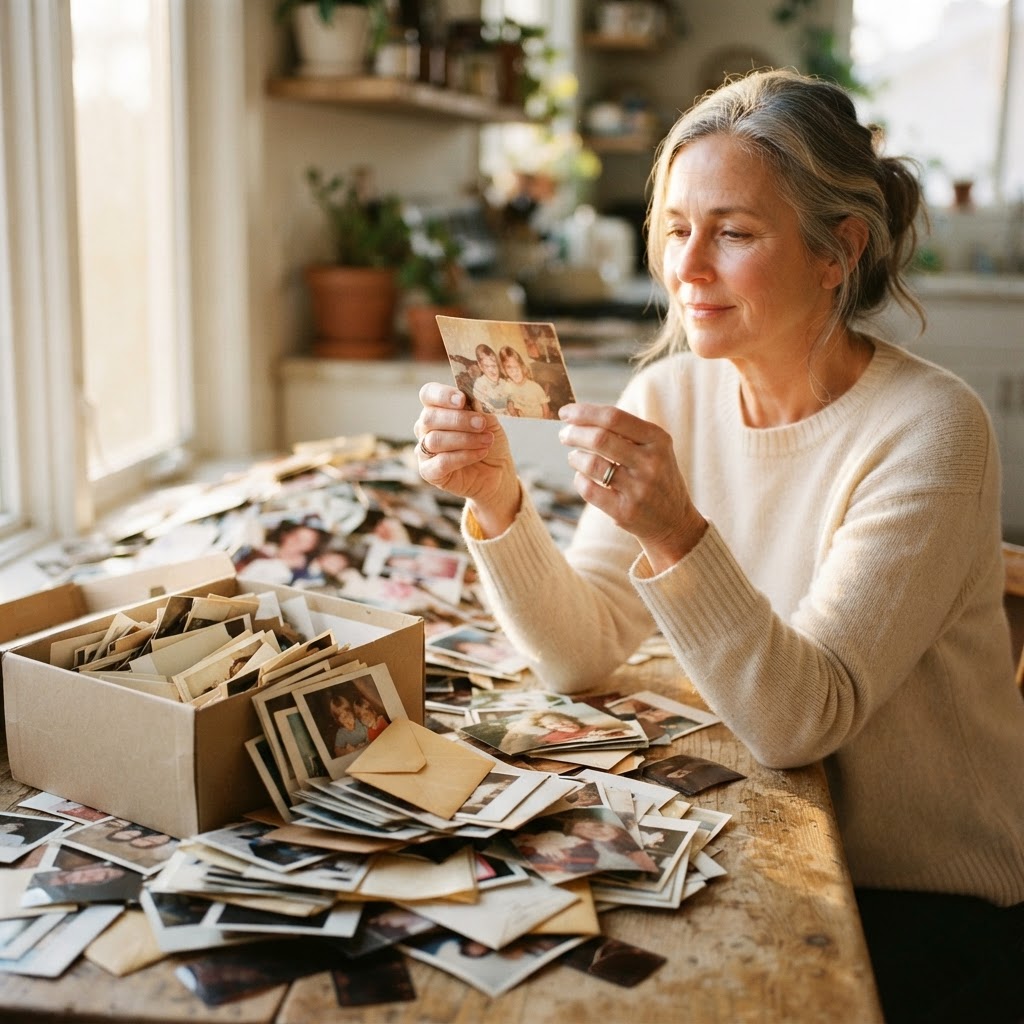
You do not need to look at all 11,000 photos. This guide shows you how to build a memorial slideshow in a few clear steps - starting with how long it will run.
Key takeaways
The problem Thousands of photos make it impossible to know where to start or what to choose.
Core insight Deciding how long the slideshow will run tells you exactly how many photos you need.
Practical outcome Sort by life chapter, pick one or two photos per era, and choose the final image deliberately.
You have thousands of photos and the memorial service is in two days. You do not need to look at all of them. The best memorial slideshow is not built from every image - it is built from a few clear decisions made in the right order.
Start here: decide how long the slideshow will run. That single choice tells you how many photos you need. If you are showing it during the service itself, plan for three to five minutes - roughly 30 to 50 photos at five to eight seconds each. If it will loop at a reception table or gathering room, you have more room and 80 to 100 photos is fine. Pick your format first, then build toward it.
Before you start
You will need: access to the main photo library (phone, cloud account, or external drive), a computer with enough storage to hold copies, and a folder where you can work. Give yourself two to three hours across however many sittings you need - not one panicked afternoon if you can help it.
One thing not to do: do not delete any original photos while you are selecting. Work from copies. You will want to change your mind, and you should be able to.
Gather photos into one place first

Most families have photos scattered across a phone, a cloud account, a few external drives, and a box of prints in the closet. Before you make any choices, collect the digital ones into a single folder on your computer or a shared drive. Call it something simple: "Mom's Photos - Working."
Exporting from a cloud account takes 15 to 30 minutes depending on the library size. Scanning printed photos runs about 30 seconds per print at a basic resolution. You do not need to organize anything yet - just get it all in one place so you can see the shape of what you have.
Then send a message to two or three relatives. "I'm putting together a slideshow. Do you have photos I might not have? Send me your favorites by tonight." You will be surprised what turns up - a photo from a fishing trip in 1979, a birthday party nobody else photographed. Set a deadline so this step does not drag.
Sort by year to see the shape of their life
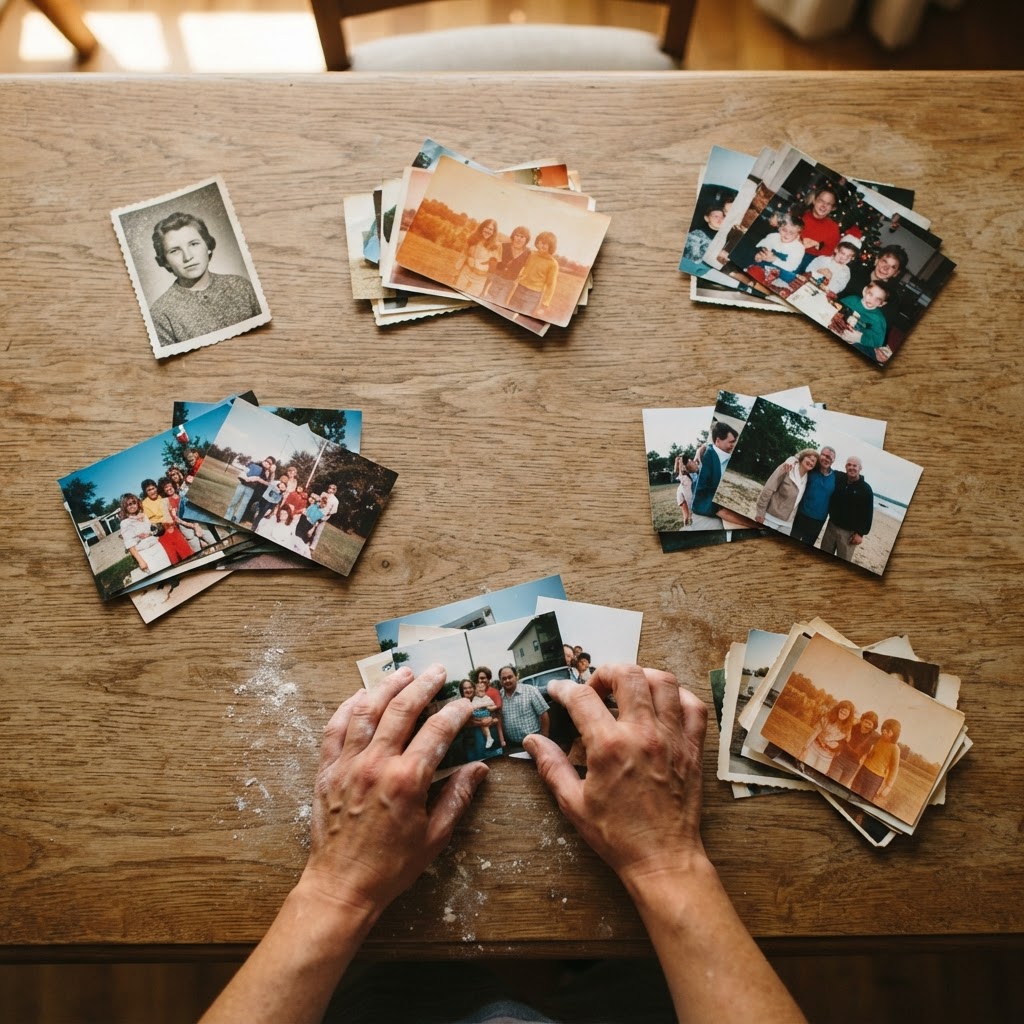
Once everything is gathered, sort the folder by date. Most digital photos carry a timestamp; for older scans, sort by the decade or era you can roughly place them in. You are not judging yet. You are just letting the arc of their life become visible: childhood, early adulthood, the years of raising children, the travel years, the quieter years at the end.
If you want to be more deliberate about it, create sub-folders. You might call them "Growing up," "College and early career," "Meeting Dad," "Raising the kids," "Travel years." The labels do not matter; the grouping does. Seeing 2,000 photos become six folders of 300 each makes the task feel manageable. This step usually takes 45 minutes to an hour. You are moving files, not making final calls. If you want a tool that does this sorting automatically, a year-by-year family timeline can lay undated photos into order without you having to place each one by hand.
Pick one or two photos per chapter - and favor action over posing
Here is the selection rule that makes this easier: choose photos where the person is doing something or with someone, not simply looking at the camera. A photo of your father at the helm of a sailboat tells you more about him than a hundred holiday portraits. A photo of your mother bent over the garden, or laughing at something off-screen, or holding a grandchild who is pulling her hair - those are the ones people will lean forward to see.
For a 30-to-50-photo slideshow, one or two photos per chapter is enough. If her life had six chapters, that is 12 photos as your foundation. You can fill in from there, but start with one or two per era and see what story they tell together.
Leave out photos where you cannot identify anyone in them. A mystery face is a distraction at a memorial service, and you do not owe the slideshow completeness - only honesty.
Choose the final photo on purpose
The last photo in a memorial slideshow carries more weight than any other. It is the image people will sit with as the music fades or the room goes quiet. Choose it deliberately. Some families end with a recent photo that shows the person as they were in their last good years. Others end with one from youth, or one where they are laughing. There is no rule - but do not let the final photo be an accident.
Order the rest chronologically. A slideshow that jumps from age eight to age 65 to age 25 is disorienting; a slideshow that moves through time lets people follow and remember.
Captions: optional, but one line can do a lot of work
You do not have to caption every photo. But a single line - "Mom at the office, 1992" or "Dad and Grandpa fishing, 1978" - helps guests understand a moment they might not recognize. Keep captions to one sentence or less. If you do not know the date or who took the photo, leave it blank. A photo without a caption is better than a wrong one.
If you add captions to 40 photos, budget about 20 minutes. You can always add them after the service for a version you share with family later.
Music, or silence
Music is optional. When it works, it works because it was their music - a song they played on long car trips, a hymn from their church, something they hummed in the kitchen. When it does not work, it is because someone chose something atmospheric and unfamiliar, and the room feels like a waiting room.
If you choose music, keep it short and familiar. One or two songs for a five-minute slideshow is plenty. If you are unsure, silence is a dignified choice. People will bring their own feeling to the images.
If the photos are blurry, duplicated, or out of order
A blurry photo of your grandmother laughing is more valuable than a perfect photo of no one she loved. Do not discard a photo because of technical quality if the moment is irreplaceable.
For duplicates - if you have 30 nearly identical shots from the same moment, pick the one where the light is best or the expression is clearest. You are making a slideshow, not an archive; you can always keep the rest somewhere safe without including them in the service version.
For photos with no date, look for clues: the person's age, a car in the background, the clothes, the season. Ask a family member if you are unsure. If you genuinely cannot place it, you can still use it - just leave the caption blank.
If the photos are locked on a phone or account you cannot access
This is more common than people expect. If the phone is locked, Apple and Google cannot unlock it without the passcode - that protection exists regardless of the circumstances. If your family member had set up an Apple Legacy Contact before they died, that person can request access to iCloud data using the access key and a death certificate. Google's equivalent process works through next-of-kin documentation, and in some cases a court order may be required.
While you wait on any official process, use what you have: photos from relatives, from old emails, from printed albums. The slideshow does not have to wait for a locked account to be resolved. Start with what is accessible, and add more later if the account becomes available.
Where to keep the slideshow once it is done
Save the final file on your computer and back it up to a USB drive or cloud storage before the service. Test it on the actual screen it will play on - a laptop screen and a projector can look very different, and you want to know about any problems before the room fills up. Keep the USB copy in your bag on the day.
After the service, you will likely want a place to keep not just the slideshow but the larger collection of photos you gathered - the ones that did not make the cut, the ones relatives sent in, the ones that deserve a caption from someone who remembers. A shared family space for photos and stories can hold everything in one place and let relatives add their own memories over time, so the work you did pulling things together does not get scattered again. If gathering photos has also made you wish you had recorded more of the stories behind them, a guided conversation that captures a spoken life story is worth knowing about for any family members who are still here to tell theirs.
Frequently Asked Questions
How many photos should a memorial slideshow have?
It depends on where you are showing it. For a service, three to five minutes is a natural length - roughly 30 to 50 photos at five to eight seconds each. For a reception that loops in the background, 80 to 100 photos is fine. Start with what feels right for the room, and know that you can always make a longer version for relatives who want more time with the images afterward.
What if I do not recognize the people in some photos?
Ask someone who might know - a sibling, a cousin, a family friend. A quick message with a photo attached ('I found this from around 1987 - do you know who these people are?') often gets answers faster than you expect. If no one can identify a photo, leave it out of the slideshow. You do not have to solve every mystery, and an unexplained face is a distraction during a service.
Should I include photos of the person when they were sick or very old?
That is your call, and there is no rule. Some families want the slideshow to show the whole life, including the final years. Others prefer to focus on the years when the person was most themselves - active, laughing, doing what they loved. If you are unsure, you might make two versions: one for the service that focuses on the earlier years, and one for family that includes the full arc.
What if someone in the family disagrees with my photo choices?
Invite them in early rather than waiting for a disagreement to surface. Ask: 'I'm putting together the slideshow - are there photos that are important to you that I might not have?' That gives them a way to contribute rather than criticize. You do not have to include every suggestion, but listening usually surfaces photos you would have missed. You are the one making the slideshow, and your judgment is what holds it together.
Can I add video clips or audio to a memorial slideshow?
Yes, and a short video clip can be the most memorable moment in the whole slideshow - ten seconds of someone laughing, or a voicemail played over a still photo, can do more than 20 posed images. Keep clips to 10 to 30 seconds each so they do not break the rhythm. Test the audio on the actual speakers you will be using before the service, not just on your laptop at home.